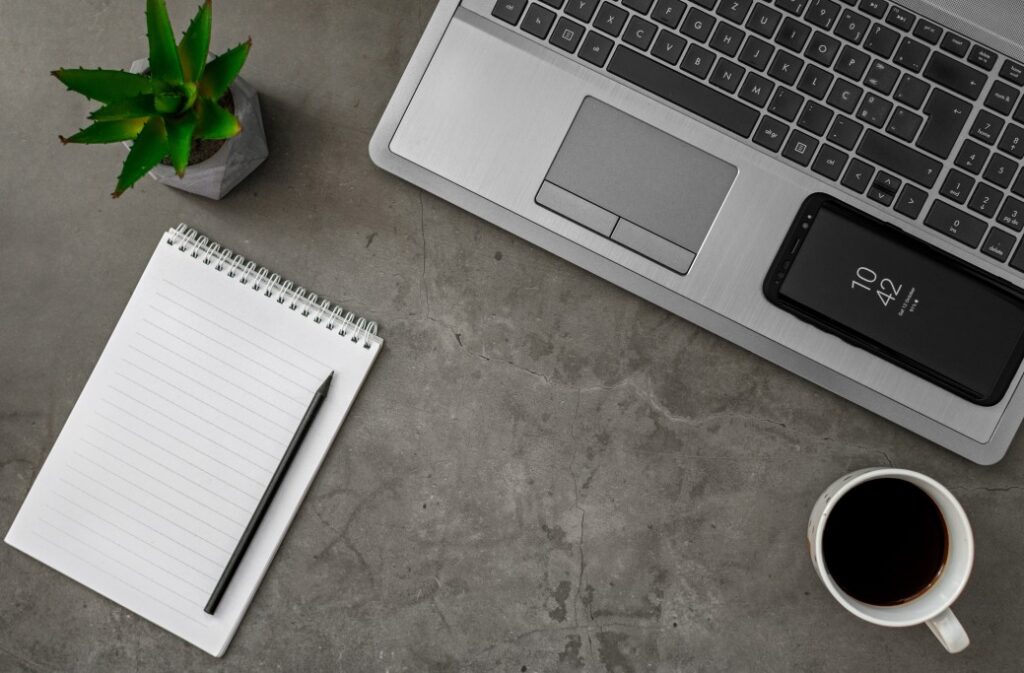
Today is Clean Off Your Desk Day! The last time my desk was as clean as the picture was when I first put it together! I don't know about you, but my workspace can definitely do with a thorough cleanup, so let's get to it!
How to Organize Your Workspace
Does your workspace look like a tornado hit it? Reports are on one corner of your desk; current work is spread across the keyboard; you know you have an appointment coming up, but you can’t find your calendar under the mess.
It seems you may need to learn how to organize your workspace!
Having an organized workspace can do more for you than make your desktop look better. Being organized can help you be more productive and reduce the amount of stress you feel when you get to work, during the day, and when you leave for home.
Organizing your desk may take more time than you have available during your workday. Ask your boss if you can come in on your own time to clear and organize your desk. They’ll appreciate your desire. After all, organizing your workspace benefits them as well as you.
These steps will help you organize your workspace:
- Remove everything from the top of your desk and out of the drawers. Of course, you can leave large items such as your computer or printer where they are. Everything else should be put into boxes.
- Wipe down the entire surface of your desk and inside each drawer.
- Sort through the items you removed from your desk and drawers. Group items together such as office supplies, filing materials, items to be filed, reference materials, and desk accessories.
- Get rid of paperwork you no longer need. Do you have unnecessary duplicates of reports or files? Recycle them. Are there items you still need? Keep those items and set them aside until later.
- Make a plan for where you’ll put things back. You’ll want items you use frequently to remain within reach, so those items will take precedence on your desk.
- Create an area where you can keep current papers handy. Paper trays are often used. Vertical files are another option if you have quite a bit of paperwork.
-
- Establish a tickler file for various activities you perform regularly – To Read, To File, To Pay, To Do, and others.
- Put items back into place after you’ve gone through them and purged what isn’t needed. Only the items you need at your desk should be put back.
Maintaining Your Organized Workspace
The old saying goes “a place for everything and everything in its place.” Decide where each item goes and then leave it there unless you’re actively using it.
- If you’re in the middle of a big project and it’s taking up much needed space, don’t be afraid to remove an item and then put it right back when you’re finished with the project.
Remember that your goal is to have an organized desk. This doesn’t mean it has to be totally cleared off, but you do want to have space so you can function.
If you’ve noticed something that will help you become more organized, don’t be afraid to ask your boss to pay for it. In the long run, your increased productivity will more than pay for the item.
After you have your desk organized, do what you can to keep it clean. Decide what you’re going to do with each item as it’s placed on your desk. Use the tickler file if you have paper, or write important dates on your calendar instead of setting things aside to deal with later.
It can be so easy to keep your desk clear once you’ve learned how to organize your workspace and put things back in their home when you’re done with them. Take the last five minutes of your day to straighten your desk and it will hopefully stay that way from here on out.